Monday, December 10, 2012

Tactica II Game Phyrrus vs Rep. Romans

<! <! Battle Chronicler - Greeks vs. Republican Room

Greeks (Phyrric) vs Republican Romans

Overview


Date played: Thursday, November 29, 2012
At Blue Sky Hobby shop in Bremerton, WA
Gary Williams and Mitch Berdinka commanded the Greeks
James Gray and Tom Condon led the Republican Romans

Greeks (Phyrrus)


                                                                                                                                                                    Qty 48 HI, Agyraspids  336 points
                                                                                                                                                                    Qty 48 HI, Tarantine Phalanx  288 points
                                                                                                                                                                    Qty 32 HI, Phalanx 224 points
                                                                                                                                                                    Qty 12 Cavalry, Macedonian HC 96 points
                                                                                                                                                                    Qty 12 Cavalry, Aitolian LC 48 points
                                                                                                                                                                    Qty 36 HI, Oscan Hoplites 216 points
                                                                                                                                                                    Qty 3 Elephants 126 points
                                                                                                                                                                    Qty 16 LI, Peltasts LI 64 points
                                                                                                                                                                    Qty 12 LI, Peltasts LI 48 points
                                                                                                                                                                    Qty 12 LI, Javelin SK 24 points
                                                                                                                                                                    Qty 12 LI, Archers SK 36 points
                                                                                                                                                                    Total: 1506 points

Republican Roman

                                                                                                                                                                    Qty 12 HI, Principes-I 96 points
                                                                                                                                                                    Qty 12 HI, Hastati-I 96 points
                                                                                                                                                                    Qty 12 HI, Triari-I 96 points
                                                                                                                                                                    Qty 12 HI, Principes-II 96 points
                                                                                                                                                                    Qty 12 HI, Hastati-II 96 points
                                                                                                                                                                    Qty 12 HI, Triari-II 96 points
                                                                                                                                                                    Qty 12 HI, Principes-III 96 points
                                                                                                                                                                    Qty 12 HI, Hastati-III 96 points
                                                                                                                                                                    Qty 12 HI, Triari-III 96 points
                                                                                                                                                                    Qty 12 HI, Principes-IV 96 points
                                                                                                                                                                    Qty 12 HI, Hastati-IV 96 points
                                                                                                                                                                    Qty 12 HI, Triari-IV 96 points
                                                                                                                                                                    Qty 16 Roman HC 96 points
                                                                                                                                                                    Qty 14 Allied HC 84 points
                                                                                                                                                                    Qty 16 Auxilia LI 64 points
                                                                                                                                                                    Qty 12 Auxilia LI 48 points
                                                                                                                                                                    Qty 12 SK, Javelin SK 24 points
                                                                                                                                                                    Qty 12 SK, Archers SK 36 points
                                                                                                                                                                    Total: 1504 points

Deployment


Deployment

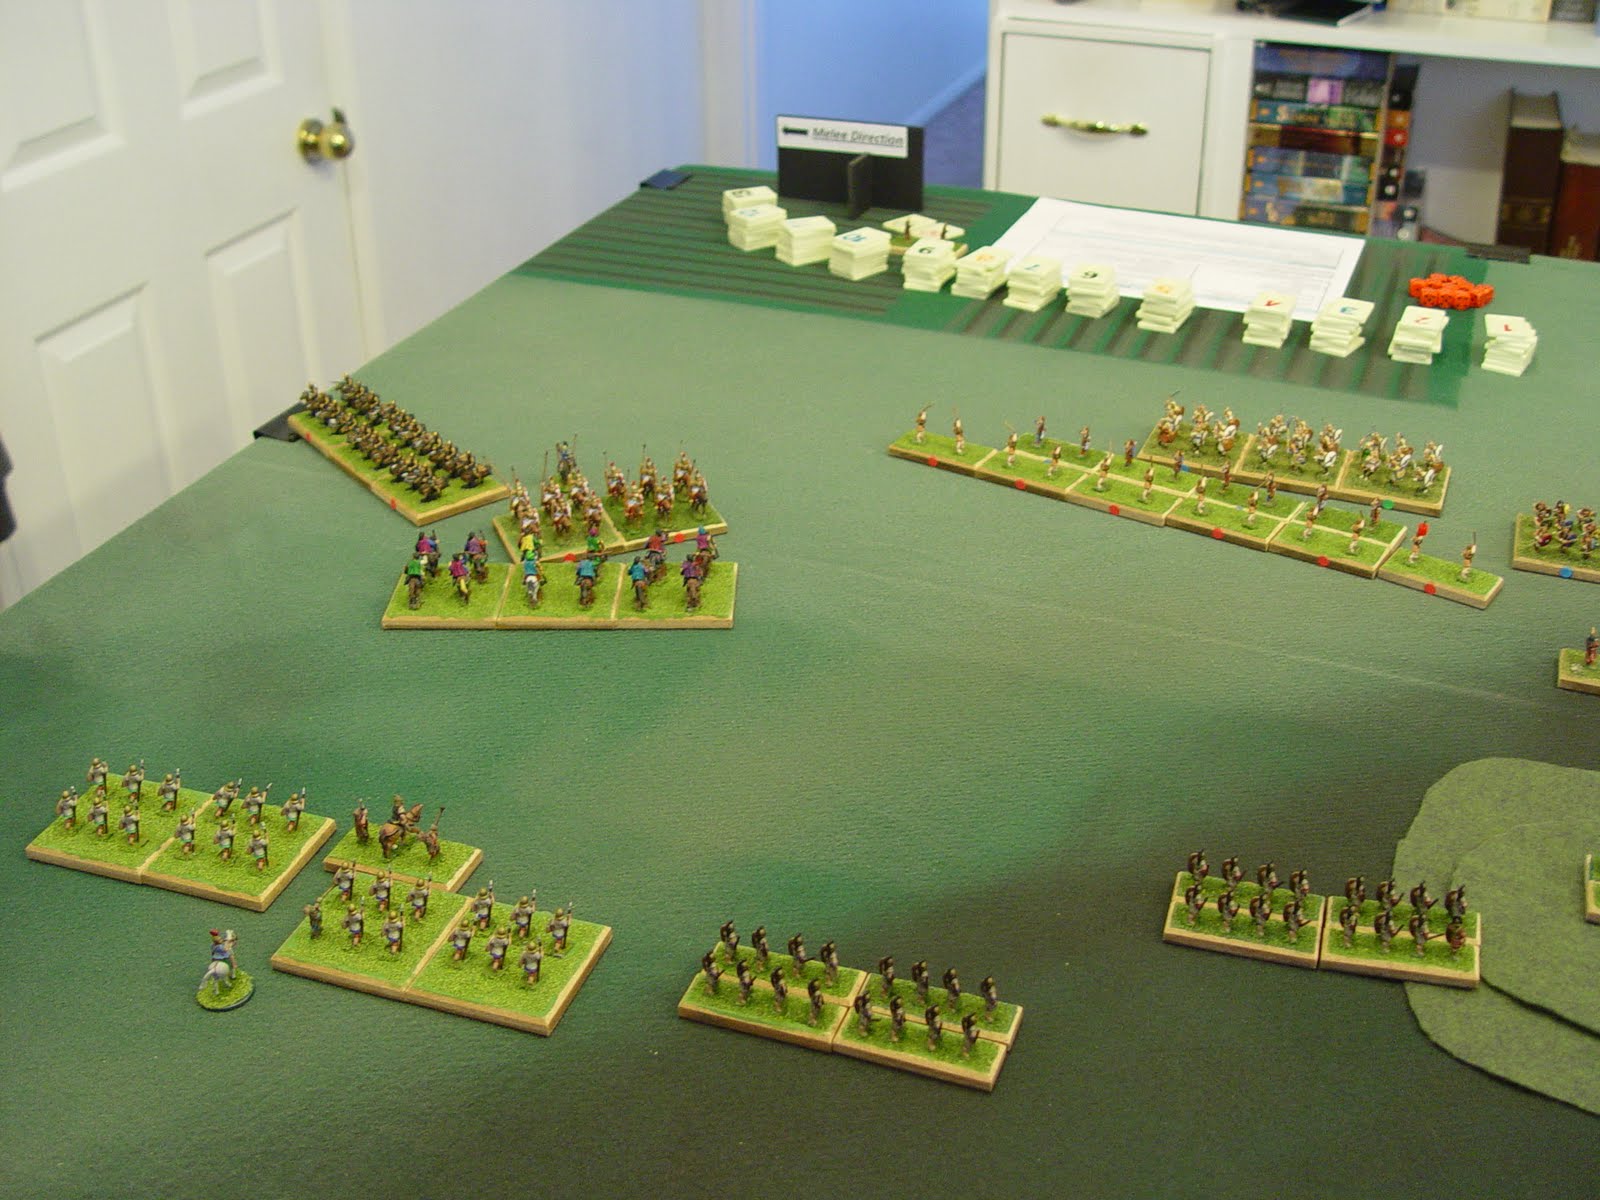
Standard deployment with HI in center, cavalry and lights on the flanks. We had only small tables available at the local Hobby Shop so deployment was much reduced from the usual Tactica requirements. The Romans with a shorter frontage, tried to use some LI to cover the left flank of their Legions.

Turn 1 


Turn 1 – Everyone advance pretty much straight ahead. Greeks tried to advance their LC to

eliminate the Roman archers in hopes of preventing them from hindering the Elephants.

Turn 2


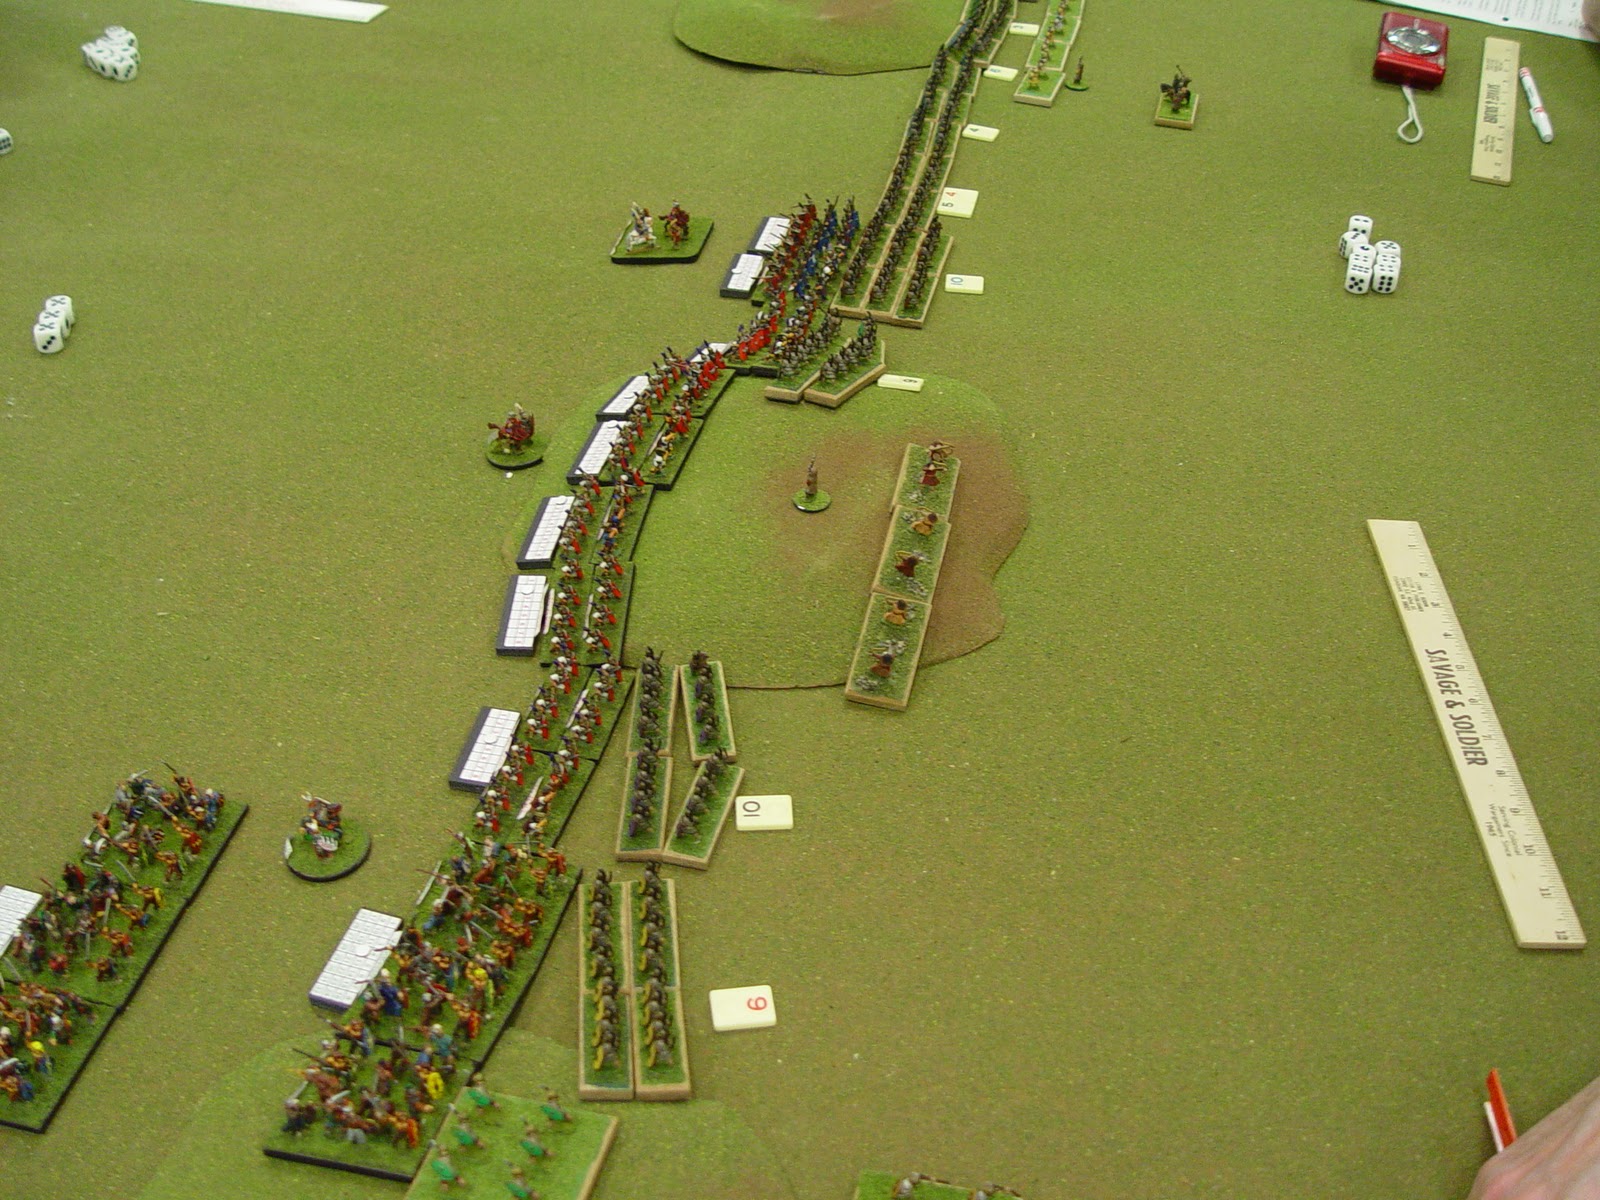
Turn 2 – Roman archers evade out of the way, so Greek LC ended up hitting the Roman Allied HC. Everywhere else, both sides are fully engaged. Romans up to this point are following the requirements for normal Line Relief.

Turn 3 

 Turn 3 - Both Roman LI units break, leaving the Roman left flank wide open. The Roman Pricipes units are no match for the deep Phyrric Palanxes and all break. The two left Roman Legions elect to reinforce their Hastati units rather than use the Relief rule. Those on the right maintain the Relief rule requirements. So at the end of the turn the status is as follows:

Roman Break Point = 101
Phyrric Break Point = 117
Loss Status
Romans Total = 52
16 LI Auxilia
12 LI Auxilia
12 FT Principes I & II = 24 (Not in relief Formation)
12 FT Principes III, & IV (Dont count until Triari break)

Phyrric Total = 0

Turn 4


 Turn 4 – Romans finally start to do some damage. The Phyrric Hoplites and Agyraspids have
taken a beating and rout as does the Aitolian LC which managed to rout the Roman Alied HC.
Meanwhile the II Legion is completely gone, leaving only the Legion I reinforced Hastati to do a “Complex” maneuver to about face and attempt to get back into the battle. Legion II and IV Hastati break, leaving it up to the Roman right flank Triari to save the day. The Macedonian and Roman Heavy Cavalry come to grips on the far Roman right. Both sides are close to Breaking Point. One more unit from either side will do it and some of the Greek LI and Phalanx units are only 3 to 4 figures away from breaking. Status at end of turn is as follows:


Roman Break Point = 101
Phyrric Break Point = 117
Loss Status
Romans Total = 90
16 LI Auxilia
12 LI Auxilia
14 HC Allied
12 FT Principes I & II = 24 (Not in relief Formation)
12 FT Principes III, & IV (Dont count until Triari break)
12 FT Hastati II = 12
12 FT Hastati III, & IV(Don't count until Triari break)
12 FT Triarri II = 12

Phyrric Total = 96
12 LC Aitolians
36 PH Oscan Hoplites
48 PH Agyraspids

End Turn


End Turn – Legion III Triari breaks putting Romans over breakpoint. If Melee direction had
been the opposite direction, the Romans might have been able to break another Greek unit
instead. It was a very close game, another “Phyrric Victory”.


Roman Break Point = 101
Phyrric Break Point = 111

Loss Status
Romans Total =126
16 LI Auxilia
12 LI Auxilia
14 HC Allied
12 FT Principes I, II & III = 36
12 FT Principes IV (Doesn't count until Triari break)
12 FT Hastati II & III, = 24
12 FT Hastati IV(Don't count until Triari break)
12 FT Triarri II & III = 24

Phyrric Total = 96
12 LC Aitolians  48 PH Agyraspids
36 PH Oscan Hoplites
48 PH Agyraspids


The Report is Copyright (c) 2009 MJB. All rights reserved.
The Report by MJB is licensed under a Creative Commons Attribution-Non-Commercial-Share Alike 3.0 Unported License.

Component (c) Tom Wright 2010. All rights reserved.
Component by Tom Wright is licensed under a Creative Commons Attribution-Non-Commercial-Share Alike 3.0 Unported License.

Component (c) 2010 Gerry Elliott. All rights reserved.
Component by Gerry Elliott is licensed under a Creative Commons Attribution-Non-Commercial-Share Alike 3.0 Unported License.

Component (c) Tom Wright 2009. All rights reserved.
Component by Tom Wright is licensed under a Creative Commons Attribution-Non-Commercial-Share Alike 3.0 Unported License. Component (c) Tom Wright 2009. All rights reserved.
Component by Tom Wright is licensed under a Creative Commons Attribution-Non-Commercial-Share Alike 3.0 Unported License.


Monday, September 26, 2011

ENFILADE 2011 TACTICA II Game Eastern Romans vs Western Romans

The following is from a TACTICA game presented at the NHMGS ENFILADE Convention on May 27, 2011 in Olympia Washington. This was a fictional Roman Civil war battle with an Eastern Roman Army versus a Western Roman Army. Each Army consisted of two Legions with support troops and an Allied contingent. The Western Romans had three warbands of Gauls while the Eastern Romans had some Sarmation Cataphracts and infantry. This was a large battle with about 3000 points per side.


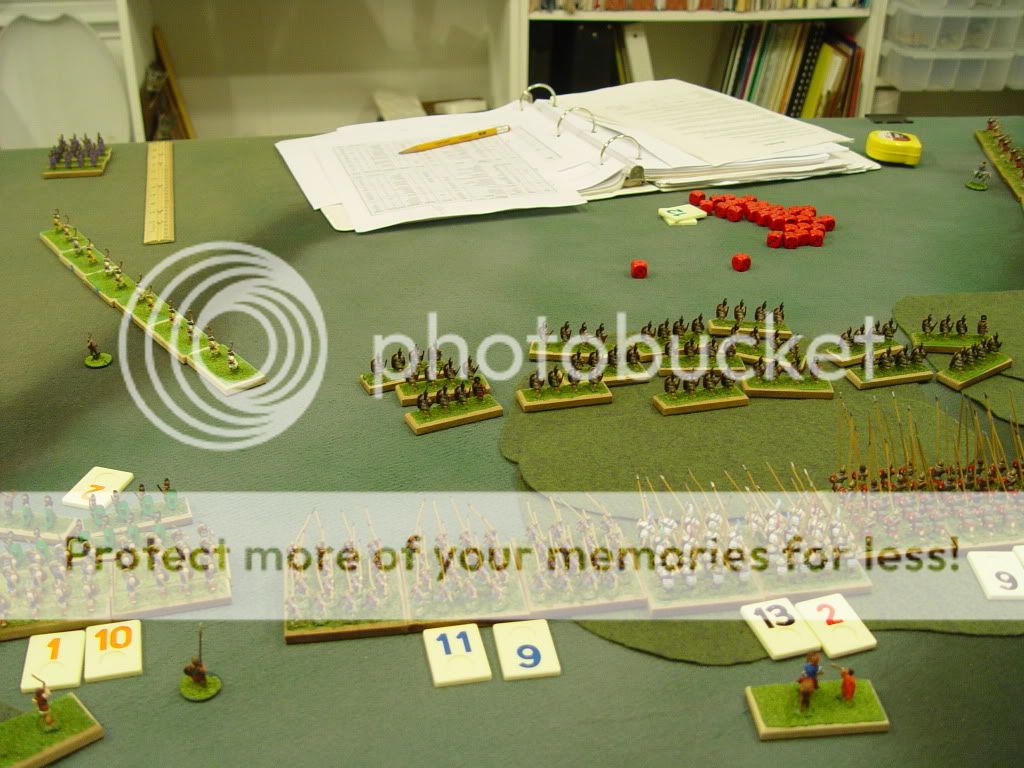
This picture shows the Western Roman (WR) setup with Legions in the middle and light troops and cavalry on the flanks. The Gaulic Warbands can be seen on the far end lined up one behind the other.


Here are the Eastern Romans (ER) with a similar setup, Legions in the middle, lights and cavalry on flanks. The Sarmation Cataphracts and Bastarnae are on the far end with some Paeonian Lt Cav and Skythian Horse Archers outboard of them.
Here are the WR players. I'm terrible with names so don't recall who is who, but maybe someone will recognize them and help me identify them properly.

Here are the ER players. the guys picked up the rules pretty quickly and all had a good time. As it ended up it was a very close match.

Here are the opening moves. Both sides have moved forward and skirmishers are doing their thing out front. The ER on left flank(far side) are doing some maneuvering as opposed to all the other legionnaires who moved straight ahead. Not sure what they were trying to do, but it didn't do them much good as you will see. Rule No.1 KEEP IT SIMPLE.
Here is a view of the WR right flank. Heavy Cav from each side are engaged in a melee. The lead Gaulic Warband (WB) is moving up to engage some cohorts, but notice how the other two WBs are pretty much useless. They would have done better to spread out or run in ahead of their own legion to inflict some casualties. As it was the back two WBs did little or no fighting the whole game.


The opposing Legions engaged in the middle. It was pretty much a slug fest.


The ER right flank. The WR light infantry and cavalry was no match for the Sarmatians who rode their opponents down pretty quickly.

The far left ER flank. Everyone is pretty much engaged. The ER light infantry will move up to help the cohorts fight the Gauls.

The left side of the ER line is in trouble A few cohorts have broken and one is disorganized. The left ER Legion will soon break and route off the field.
Unfortunately for the WR's, their left Legion also fared badly and it has routed off also. Both sides now have a big hole in their Battle Lines. Neither side has reached Break Point however so the conflict continues.
Another view of the battle field just before the left flank ER Legion breaks. Thew Cataphracts will make short work of the WR Heavy Cav and the Bastarnae will demolish the Light Infantry.


Both side near Break Point now and they are maneuvering to attack their remaining enemies.  Not shown is one of the Gaulic WBs has broken, but the entire left flank of each side is totally gone.

One of the remaining WR cohorts has taken its last casualty and can be seen routing off the table.  When we added up the points its was ER 210 points lost with BreakPoint of 206. Percentage = 102%.
WR lost 270 with BreakPoint of 219. Percentage = 123%.
Since ER had lower percentage, they were deemed the Winner. A very close game indeed.

Monday, November 01, 2010

1st Playtest-Song of Drums & Shakos

The game was played at Discordia Games in Bremerton, WA using the Song of Drums & Shakos rules. Gary Williams and I each had a squad of five French with one sargeant and an Officer each. Ron Berry played the Brits with one squad of Rifles and one of regulars. Ron chose to defend and Gary and I were the attackers. We should probably have had more troops to attack, but I wanted to keep it simple for this 1st playtest.


Beginning Moves. British Infantry are defending the walled enclosure.Rifles are lurking at edge of woods. Gary's squad of French are advancing down the road in haphazard fashion. My squad of French in background are emerging through the woods in a group.


Gary started out using Group moves, but after a couple of failures decided to use individual moves and only rolled one die for each soldier. This prevents getting two failures and turning over initiative to other side, but results ina disjointed advance.

My squad emerges from woods and will cross the stream to attack British in flank. i had better luck rolling Group moves so was able to stick together.


Gary takes fire from the rifles and ends up loosing a couple of figures, but keeps steadfastly advancing. Well at least these Crapauds have courage, unlike the rifles hiding in the woods.

My squad gets across the stream, but the Officer is beginning to fall behind as he was forced to use his actions to move group and was unable to move himself. Well at least he was shouting encouragement to them. Gary has gotten his little group formed up again.

My squad approaches from the flank while gary is having trouble getting his guys across the bridge

My guys are now close enough to start to do damage, but now the
sergeant has fallen behind. Officer has yet to catch up. Gary's squad is still trying to advance across bridge. Group moves are difficult if you keep failing on two dice.

My Officer shows up in time to order two of my men to assault the gateway. My guys shoot and knock one Brit down, but he gets up next turn. Brits in enclosure start to turn to face this new threat.


Gary has finally gotten a few guys to attack the Brits across the wall. Ron has move some guys up to counter my fellows entering the gate.

Rifles are still taking pot shots from the woods and letting the redcoats do all the fighting. What a disgrace!

In my attack at the gate, one of the Brits is killed. Gary has now gotten most of his squad and the Officer up to the wall to make an assault.  Ron has finally moved the Rifles up to support, but they are still hiding behind the wall.

Gary's Officer jumps the wall on his horse and easily takes out one of the defenders. The rest of his squad aren't as fortunate and are repelled at the wall. Some more of my guys move up to assist and my Officer moves into the enclosure to attack

The Rifles take out Gary's Office with rifle fire. The Bastards! My soldiers in the enclosure are defeated and suffer a Knock Down(shown facing away rather than laid down so as not to confuse them with dead guys).

In a subsequent attack, my knocked down officer and his accompaning soldier loose a melee and hence are killed. Gary's guys fail most of their morale checks due to their Officer being killed and are running away.

My guys pass most of their morale checks but the heart has gone out of the French attack as all the officers  have been killed and the Rifles would make the odd unbeatable. The French run away to fight another day.

Monday, October 04, 2010

October Update

Well I finished converting Book IV of the Minimus Gluteus Chronicles to Blog format. You can take a look at the link below.

Strategikon II

Received two new rule books recently. One is Song of Drums and Shakos which is for small unit Napoleonic Skirmish Games. Rules look very interesting and I am anxious to try them out. Seem simple enough, should be very playable. One side has initiative and tries to activate his men by rolling on 1D6. Most you can get is three actions per attempt, but if you roll two failures, initiative shifts to the other side. An officer or leader can try to activate a group with one roll for the group.


You roll against the figures quality, the lower the number the better. regular troops are a "4". Officers may be a "3" or a "2". Combat involves attacker and target(defender) rolling off against each other with modifiers. If you double your opponent he is wounded, triples kills him outright. If you use "volley fire", the target is -1 for each figure firing beyond the 1st one.

Normal Infantry move is 120mm, about 5 inches(one action). If you succeeded in getting three actions, you would hence move about 15". Musket effective range is about 9 inches, with medium out to 18 inches and extreme at 27 inches.

Song of Drums and Shakos is published by Ganesha Games. Check them out at: Ganesha Games

The other set of rules I received is the Deluxe version of General de Brigade. They come in a hard copy bound book with lots of pictures, art work and diagrams. My first impression is that they are a big improvement over the original, but are pretty expensive, $55. They certainly appear to read better than the original and there are some subtle changes. Will have to play a game with them first before reaching any final conclusion. Bottom line is, if you liuke the original, you will like these better. If you hated the original, you probably won't like these either.

Thursday, September 02, 2010

Stategikon II Blog


I've started work on converting my past Strategikon II battle reports to blog format. Not sure why I'm doing this. Its a lot of work. Its hard enough to make the reports as they are. I think I'm doing it just to get experience doing Blogs, but we will see how it goes.

At any rate you can see a start of it by clicking on the " Strategikon II Blog" header above which is a link to the Blog. I'm also working on the Book VI report (Battle of the Narrow Plain). Hope to have it done soon when I will post it on the Yahoo Tactica Group and our West Sound Warriors Yahoo Group.

I'm doing family things this weekend, so it looks like next time we could possibly get together will be Saturday, September 11.

Thursday, August 12, 2010

Tactcia II, Ponts vs Romans


On Friday, August 6th, we had another of our Ponts vs Roman battles using the TACTICA II rule system. It was another defeat for poor Minimus Gluteus, but was a very enjoyable game all around. The new TACTICA is a joy to play and there is always the tension as you wonder whose troops are going to break first.


Below is the set up. Pretty standard Roman deployment of two legions. I started out with them already reinforced. Why waste time maneuvering when you know you are going to end up that way eventually. When going up against the Pontic Phalanxes, the Romans need the reinforced cohorts in order to last long enough to wear the pike blocks down.

Action started on the Roman left Flank with the Ponts trying to do a flanking move. The Roman LC go up against the Pontic HC while the Cataphracts try get around the end. They got kind of tied up and never earned their worth on this side. The Roman Auxilia were able to hold them up for most of the game.


I played the Roman General, Minimus Gluteus ( who seems never to get things just right) Here you can see the Roman Cohorts attacking in a wedge shape. This was an attempt to get into contact with the Pontic Phalanxes and start doing damage to them. To win the Romans must take out at least one pike phalanxe.


Over on the other flank, the scythed chariots run into some Roman Auxilia which they eventually destroy. ( A waste of good chariots). Another group of Armenian Cataphracts move forward. The Roman Gaulic LC thinks about taking out the Pontic Skirmishers, but eventually swings around to try top flank the cataphracts.


Another view of the Roman wedge attack, just before the HI comes into contact. The terrain pieces are actually supposed to be low hills. They didn't have any effect on the game. We rolled per the T2 rules and all we got were small hills, no rough terrain.


Here we see the skirmishers have fallen back and the HI is in melee for the inevitable slug fest. Its always a contest to see who will break first, the large pike blocks or the nimble Roman cohorts. Per the rules, the pike blocks break at 66% casualties, but for the cohorts you have to kill everyone of the buggers. The right handed Phalanxe is the Militia Grade(Ex-Slave) one which breaks at 50%.


A view of the HI battle from the Pontic side. The Immitation Legionaires on the left and the Galatian WB on the right haven't yet gotten into the fight. Roman Auxilia on far Roman left are still holding out. These things are almost always decided in the middle. Flanks are usually just a side show.


Galatians finally get into action in the background. Even though they don't get Impetus(Double Dice), in the ensuing melee they put 9 hits out of 11 rolls on the Romans. Ouch! There's the die roll at left. The discouraged Romans manage only to put a couple of hits on the Galatians all the more significant since the Romans are hit on a 5 or 6 while the Galatians are hit on a 4, 5 or 6.

Meanwhile, Minimus has attached himself to the Gaulic LC and is attempting to get a wing or flank attack on the cataphracts. Here he is in position, but next turn the Ponts get initiative and advance out of his way. He should have been paying more attention to his center.


View of the battle from Roman side. The hits are staring to mount up. The 10 kills from the Galatians would prove to be devastating. Only 6 more before cohort would break.


Looks like Minumus might finally catch the cataphracts from the rear. Nope! Ponts get initiative again and do a "Complex Maneuver" with an about face although they end up disordered.


One of the cohorts fighting the Ex-slave phalanxe breaks. The cohorts to its left
with 21 hits passes morale but the one to its right doesn't and is disordered. Things not looking good for the Romans.


The cohort fighting the Galatians finally breaks and the route test disorders the cohort to its right. Is the beginning of the end for the Romans. Subsequent melees and morale tests lead to a cascading series of routes for the Romans. The left Legion reaches 66% casualties and breaks.


Here you see the route of the Romans. A couple of the Pontic phalanxes were close, just 3 or 4 away from breaking. A few more die rolls in the Romam's favor and it could have gone the other way.


The Pontic commanders celebrate their victory


Minimus is foiled again. "What a revoltin development this has turned out to be!"