Our last game on Friday May 2nd at Discordia games was a switch from our normal Marian Romans vs Ponts. This time we went back in time to an earlier period where some Republican Romans took on the might of the Sleucid Empire. Mitch Played the Romans while Brad & Greg Philpot played the Seleucids. There were five Legions with two supporting units each of Heavy Cavalry and Light Infantry. One of the Legions was a "hastily raised" legion of Militia Grade quality. A unit of slingers and one of javelins acted as skirmishers
 The Seleucids has two units of Pike, one of which was Elite, two units of Cataphracts, Heavy Cavalry, Skythian Horse archers, a Galatian Warband, a unit of Thracian Light Infantry with Rhomphias, two orther units of Light Infantry, the usual Scythed Chariots and a unit of Elephants. A unit each of slingers, javelinmen and archers acted as skirmishers. Total points were 1752 for the Romans and 1751 for the Seleucids, a very close matching. Breakpoints were also very close, 111 for Romans and 119 for Seleucids.
The Romans tried to make flank attacks with Cavalry on each end, even attaching the General to the HC on left flank. So they advance boldly. The Seleucid Pike Phalanxes marched steadfastly on to engage the 1st line of Roman Hastati. For some reason the Seleucids left the Elephant and Scythed Chariot units behind as reserves. The skirmishers traded volleys hoping to wear the other side down and get some hits on the Heavy units. Eventually as the lines approached they evaded to behind their own lines to let the "big boys" go at it.
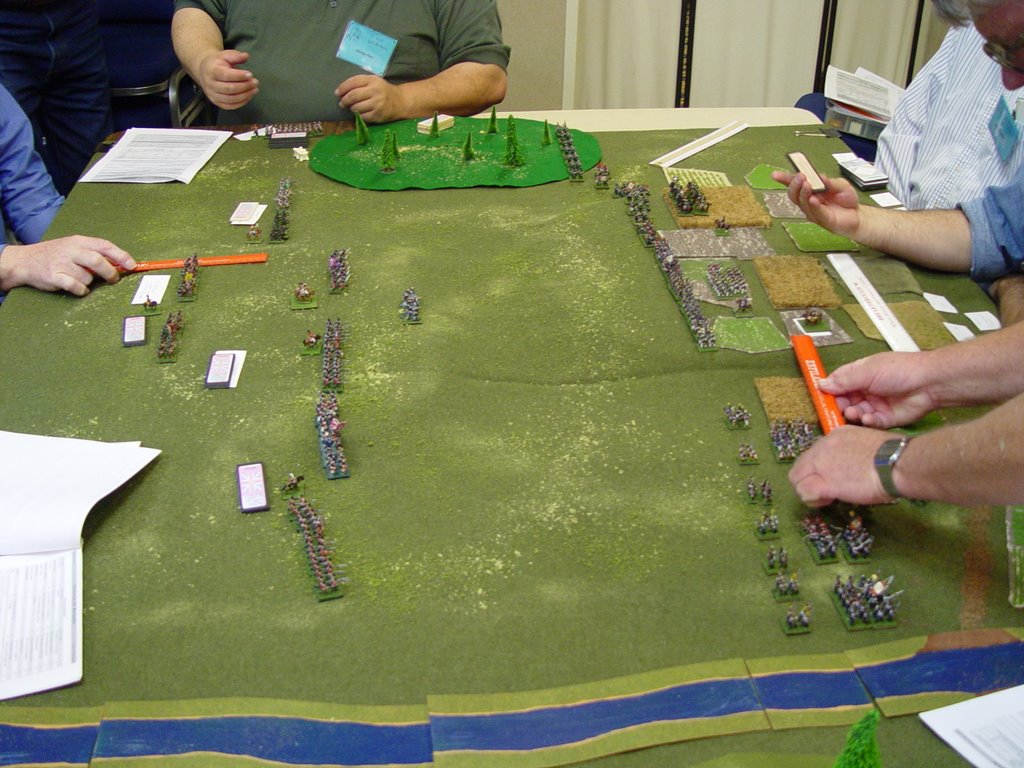
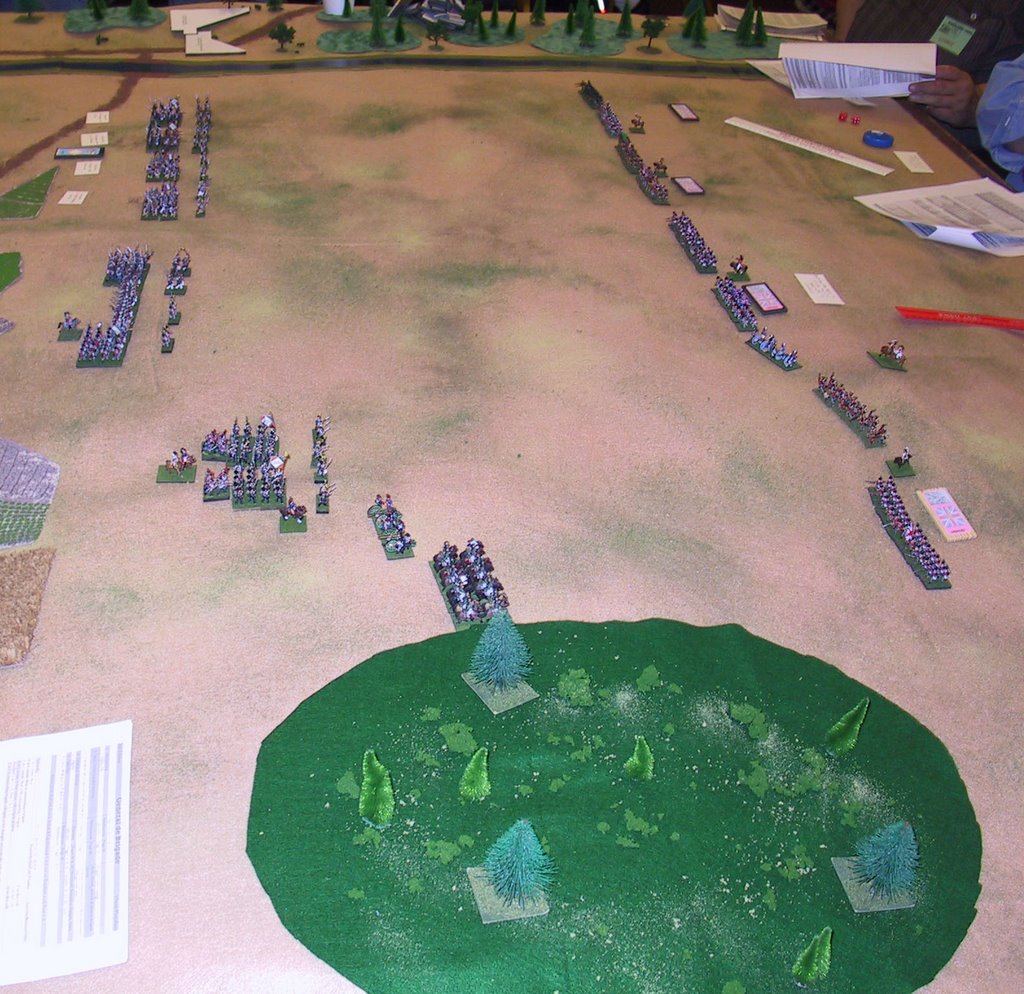
 The Roman HC meat up with the Seleucid HC on Roman left flank and begin what turned out to be about a 3 turn slug fest. On Roman right the light infantry advance to occupy the hill.

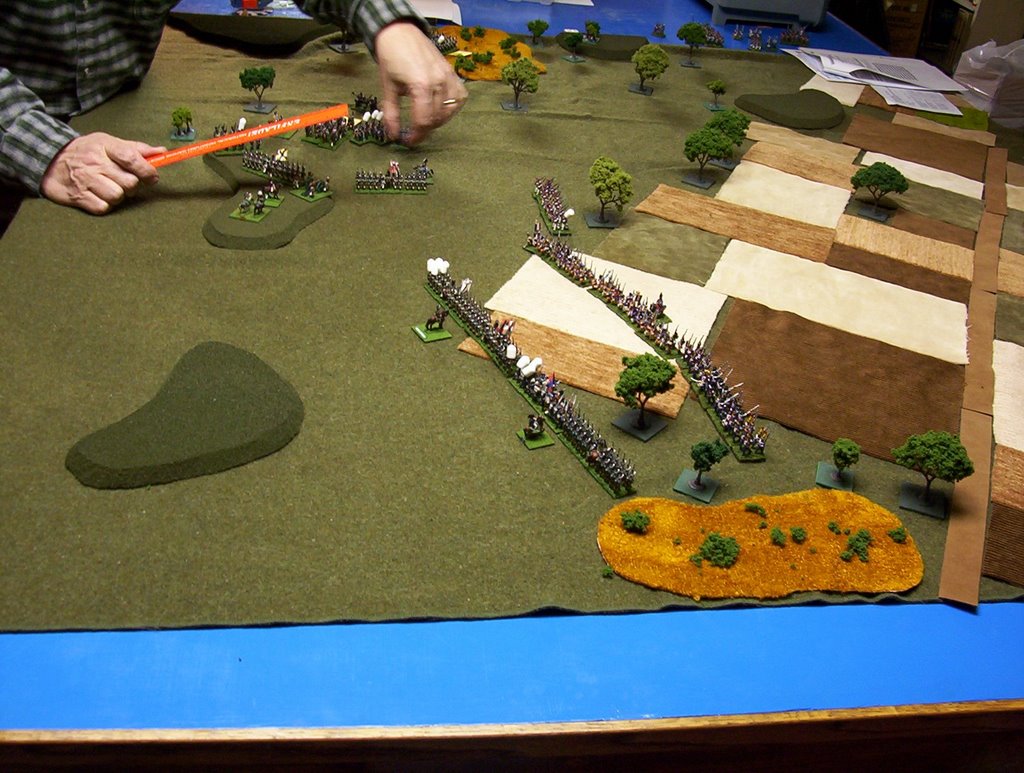
Close up view of the cavalry match uo on Roman left flank. The Romans with the bigger unit get 7 dice against the Seleucids 6. Also the Roman general is attached adding two more dice for a total of 9. Both sides hit on 5's or 6's.

In this Picture the Romans have scored two hits to the Seleucid one. Pretty poor fighting, but in a battle of attrition, the Romans will likely win. Attaching the Generals has risks. If outscored in a melee, the General may be killed causing morale tests and inflicting a 10% loss in Army Breakpoint. In this case the Roman General survived easily. The Seleucid HC were eventually beaten. Failing a pursuit test, the Romans ran straight into the hapless horse archers behind.
Meanwhile on the other side, the Roman has come up against some Armenian Cataphracts who turn out to be a tougher opponent. The Roman Light Infantry has occupied the hill and used a "complex maneuver" to make a wheel to
 enable it to attack the Seleucid left Flank. Some Seleucid Light Infantry are advancing however, to oppose the Roman unit.
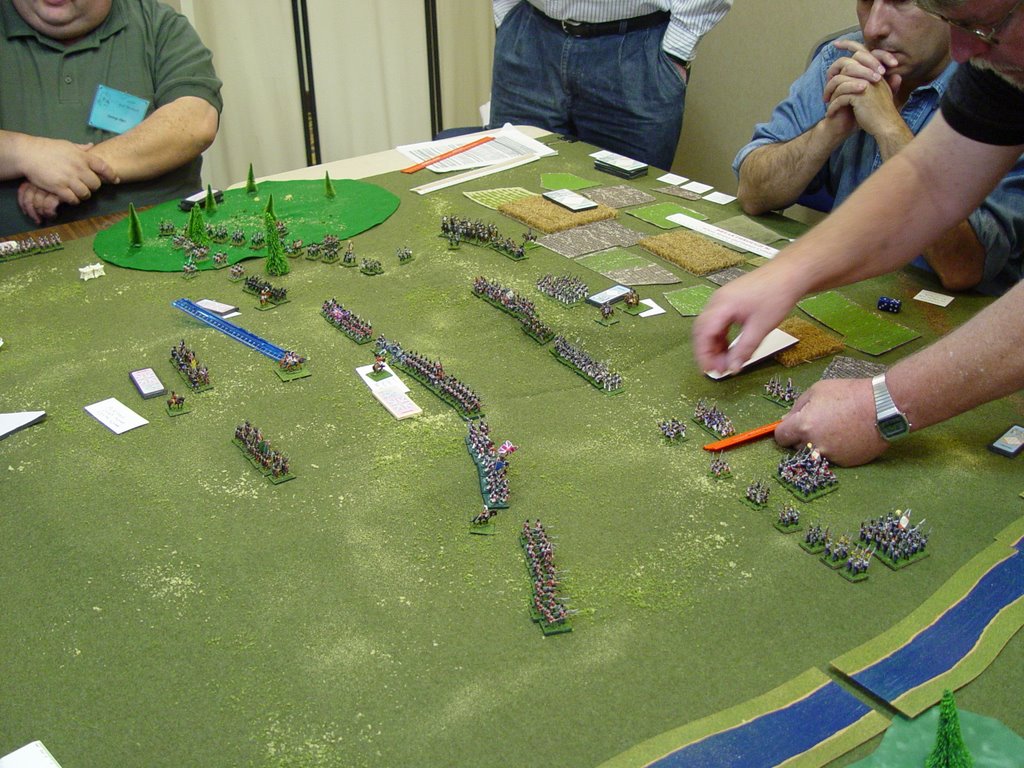
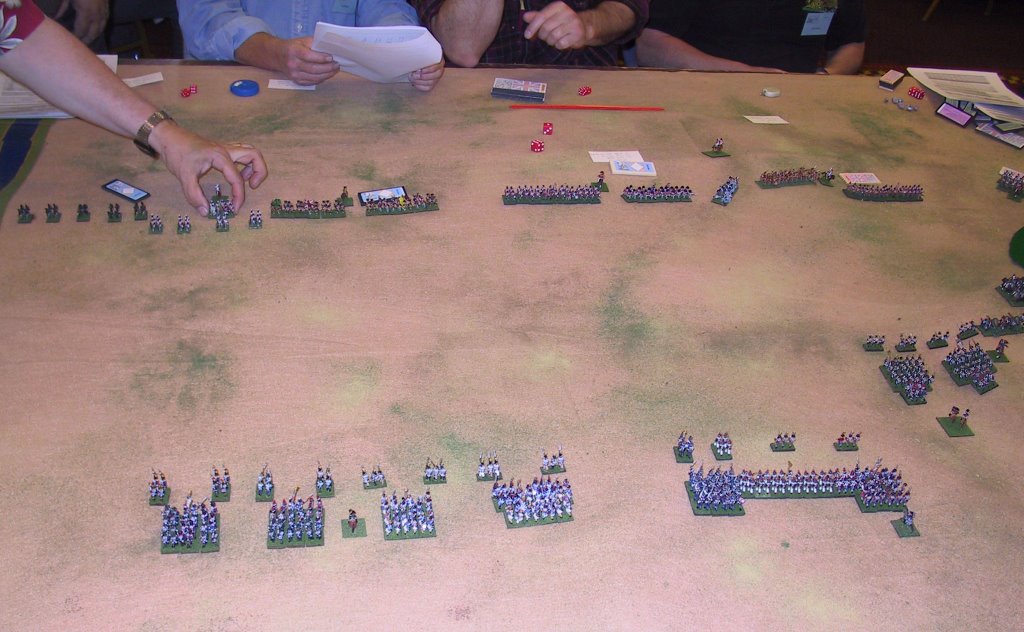
In the center you can see the Seleucid Light Infantry and Thracians have made contact with the Roman Hastati. THe Pike Phalanxes and Galatian Warband still have some Roman skirmishers intervening to get their last licks in before the heavies make contact. The skirmishers will EVADE next turn to get out of the way.

In this view the Roman Light Infantry has been broken by the Seleucid Lights. Both of thes eunits take hits on a 3, 4, 5 or 6. Counting the two already on it there are seven more if you look at the blue dice, pushing the Roman Lights over their break point of eight.
The Romans got 5 hits on the Seleucids, but being a fresh unit, it was not enough to break them.

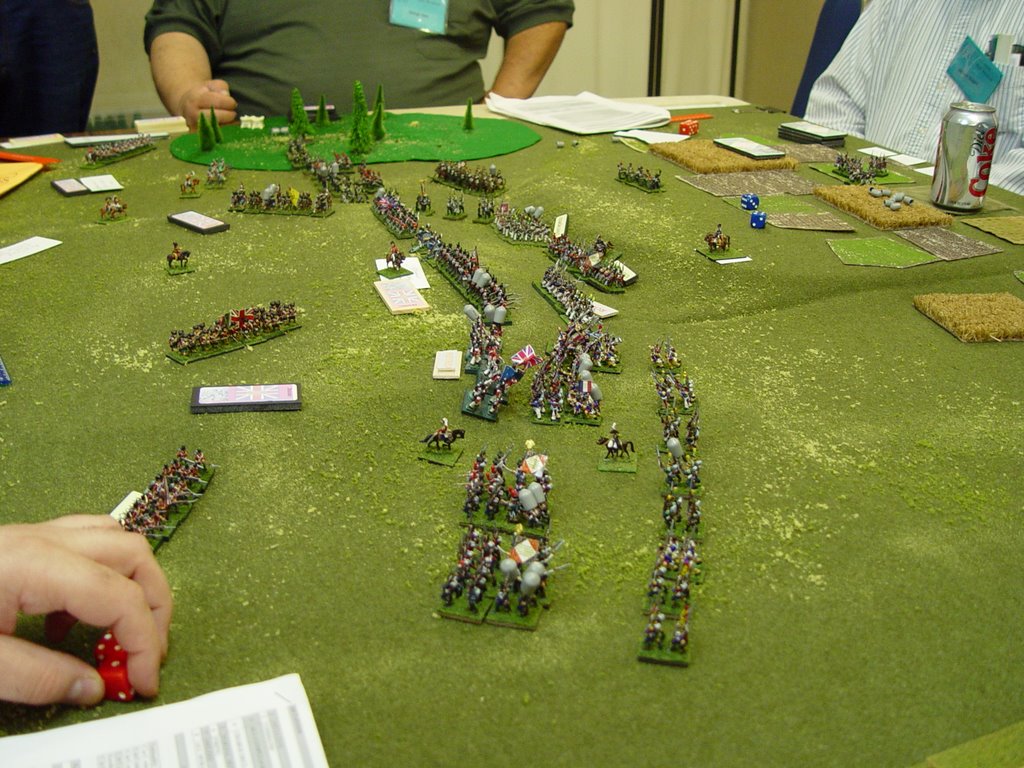
The Thracians with their rhomphia weapons get an "Impetus" bonus their 1st turn melee turn if the Romans fail a "Control" roll. They must spli their die however between the two cohorts they contact. In this case, they got Impetus against the right cohort, but not the left. In the Process they took a beating from the Romans Pilum and melee dice. With 13 hits they are close to break point needing only 5 more hits.
The right hand cohort however suffered from the double dice the Thracians rolled against it from the Impetus advatage and with the hits from the other Seleucid Light Infantry are also close to break point. The other Seleucid Light took a beating also and will soon be gone, but they've done some damage. The 12 figure cohorts are somewhat fragile and this one had to split its melee dice.
 Here is a lesson in how to NOT deploy Romans. The Legions set up with less than four inches between them . Units that Break cause a "Control Test" with 4" of their Rout path. In this case the Right hand cohort above was eventually broken by the Thracians after it routed the Seleucid Light Infantry. The next cohort in line failed its "Control Test" and became disordered. It was outscored in melee by the Thracians causing another "control Test" which it failed thereby routing and causing another "Control Test" for next Roman Hastati unit in line. This process created a severe handicap for the Romans which could have averted by proper deployment.
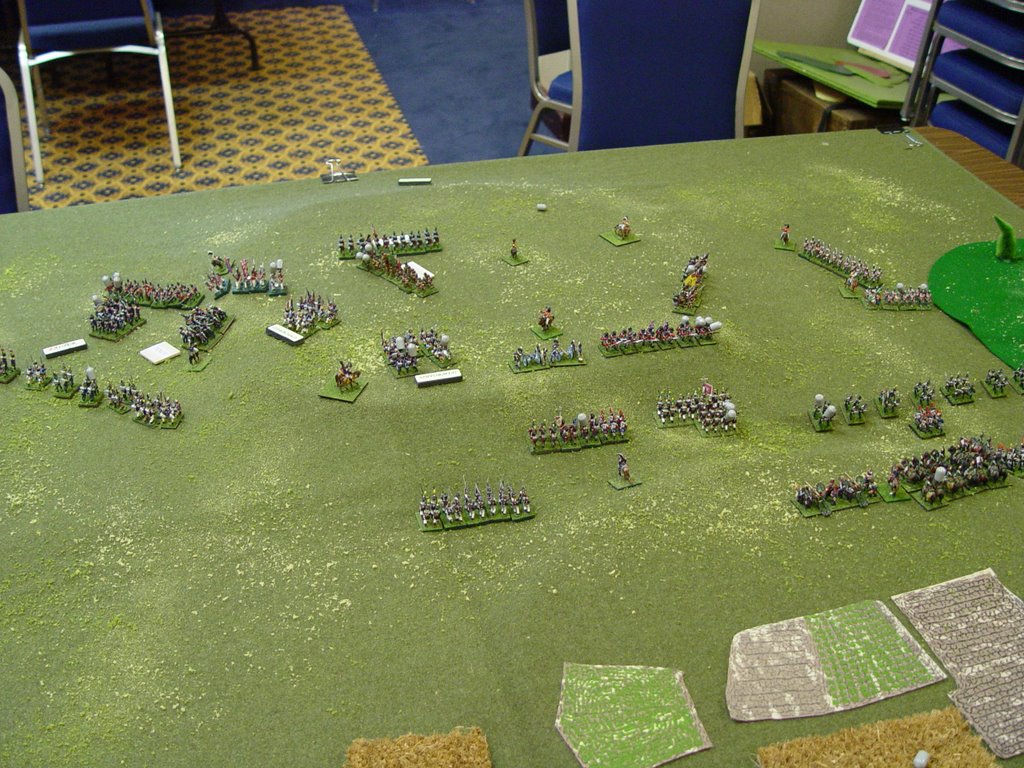
This process resulted in the line of Hastati being quickly defeated. In next photo you can see two units of Hastati routing while the last one is still engaged with the Cataphracts. Unfortuately my left most legion was an "Inferior" one (i.e. Militia Grade) which breaks at 50%. So soon after this photo it was the Principes turn. Fortunately I remembered to leave enough space between my lines of the same Legion so that the following "relieveing" lines didn't have to test.


At far end the Roman Cavalry is still fighting the Pontic HC. The Pontic Horse archers are in position to provide backup while the their elephants have moved up. Pontic player didn't quite know how to use the elephants. They would have been beeter used over on the flank against the Roman HC. The Schythed Chariots have moved up as the Thracians are pretty fragile now and it won't take much for them to reach break point.

On the Roman Right, the Pontic Light Infantry have driven of their Roman counterparts and will advance to assist the Cataphracts who are still slugging it out with the Roman heavy Cavalry.

Eventually the Left Flank Roman HC defeat the Pontic Heavy Horse and pursue straight into the Skythian Horse Archers. They will make short work of these, but another failed Pursuit control Test will take them almost to the edge of the table. Although the Roman General was attached, so they would not be out of command, they would end up too far to make any difference in the game( not they they were really needed anyway as things turned out).